Whether you search online or look through a beekeeping catalogue there’s a bewildering array of feeders available in different shapes and sizes. Making sense of all this can be difficult. This page describes the different types of feeder and explains when and how to use them and also looks at the different feed mixes and when to use them.
There are three basic types of feeder:
• Contact feeders
• Tray feeders
• Frame feeders
Contact feeders
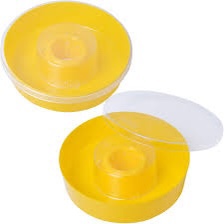
These are by far the most common type of feeder used by beekeepers. They consist of plastic tubs with well fitting lids in which there are feed holes, either in the form of gauze or small drilled holes. The beekeeper fills the tub with syrup then quickly inverts it. The liquid creates a vacuum and the tub can then be placed over the feed hole in the crownboard allowing the bees to feed from the gauze or holes.

As the quantity of syrup decreases bubbles of air are sucked in, replacing the syrup taken and maintaining the vacuum. Commercially produced feeders come in standard sizes; 1/4 gallon (1.1l), 1/2 gallon (2.24l) and 1 gallon (4.5l).
You could also make your own from any plastic tub with a well-fitting lid, ice cream tubs are a favourite with beekeepers as they are flat enough to fit easily under most roofs. A 1.5mm (1/16 inch) drill produces the right size holes. If you purchase or make a contact feeder which is too deep to fit under the roof, a super can be added above the crownboard to accommodate it. It’s very important the roof fits properly with no gaps, otherwise you risk encouraging robbing.
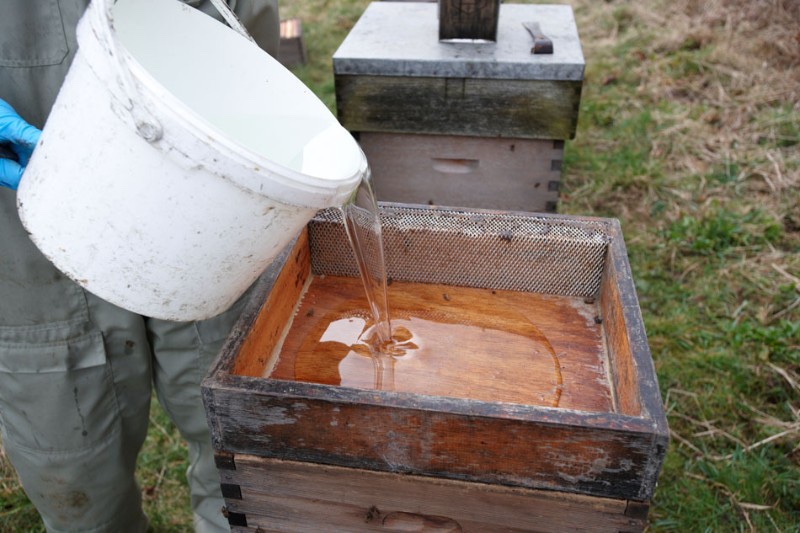
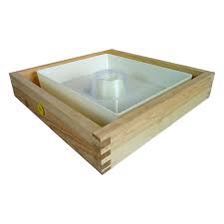
Tray feeders
Tray feeders can be round or square. They range in capacity from 4 pints (1/2 gallon) to 3 1/2 gallons. The smaller sizes are placed over the feed hole and if necessary, can be accommodated inside an eke or super placed above the crownboard.
The larger ones (usually made of wood) have the same dimensions as the type of hive they are designed to be used with. They are placed on top of the hive just like an extra super and the roof is put on top of that. The bees gain access to the syrup via a controlled route which allows them to feed without drowning. These large tray feeders are what commercial beekeepers use. Nearly all tray feeders are sold under the name of ‘rapid feeders’ which is somewhat misleading when applied to the smaller ones like the English as bees are only able to feed at about the same rate as a contact feeder.
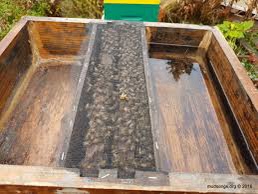
The rate at which feed can be taken from any type of feeder is determined by the number of bees that can gain access to the syrup (gather round the trough) at any one time. Most tray feeders have one or two round access points and the number of bees that can feed at the same time is determined by the combined circumferences.
The traditional hive-size feeders such as the Miller or Ashforth have a substantial length over which bees can reach the syrup. In the case of the side-access Ashforth feeder this is approximately seventeen inches but the centre access Miller feeder has an impressive thirty-four inches. These really are rapid feeders.
Frame feeders
These are not as widely used in the UK as other types but they do have a useful, more specialised role to play. As the name suggests, they take the form of a syrup holding container, the same width as a drawn frame. It has lugs like a frame so that it can be fitted within the hive in place of a frame.
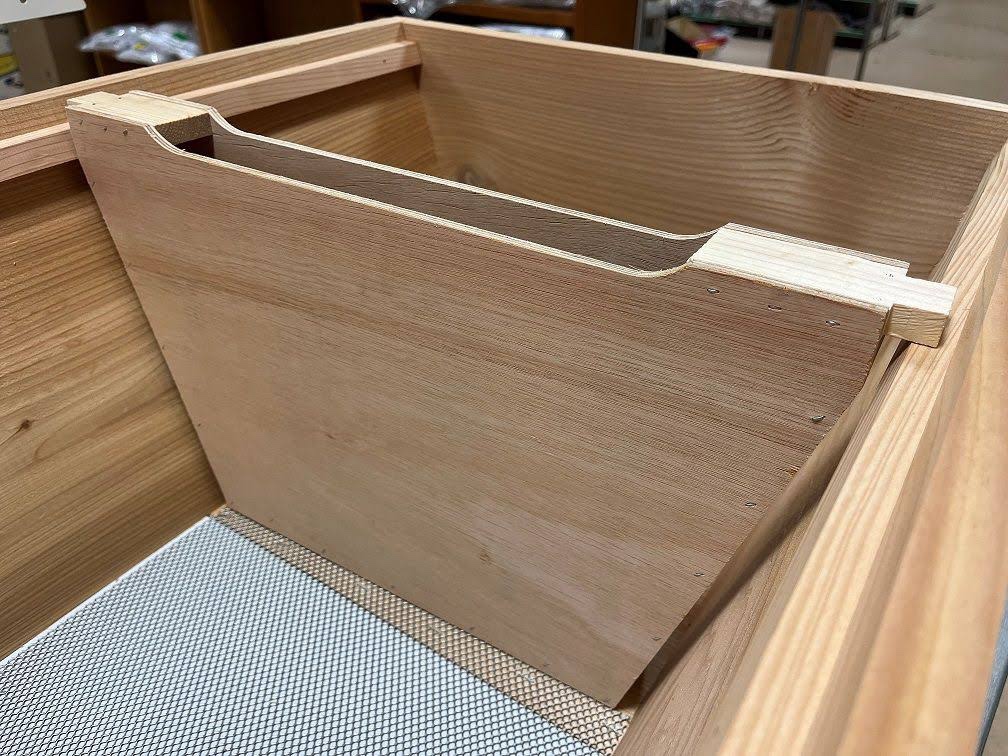
Frame feeders have a capacity of four pints (half a gallon) and come supplied with a wooden float on which bees sit and drink the syrup. In New Zealand, where frame feeders are widely used, beekeepers stuff the tank with dried vegetation to provide access to and escape from the syrup.
Choice of feeder type
There are two main considerations when it comes to the choice of feeder:
• Capacity; how much feed can be supplied in a single fill
• Rate of feeding; do you want the bees to get the feed quickly or slowly?
Capacity
This largely depends on how much you want to feed. If it’s a large amount (two to four gallons) for example, if you’re topping up stores in preparation for winter, then a large capacity feeder is an advantage because a single fill may be sufficient. Large capacity feeders are also an advantage in an out apiary where it’s more difficult to get to your bees.

At the other extreme, when feeding a nucleus, a capacity of one pint may be plenty. Frame feeders may also have a place in a nucleus but of course, it does involve the removal of a frame. In a six frame nucleus the loss of a frame is probably of little importance but it may be more of an issue with a five frame nuc.
Tray feeders have the advance that you don’t have to disturb the bees to refill them but contact and frame feeders have to be removed from the hive to refill them.
The capacity of the feeder is not critical. A larger feeder can be partially filled if a smaller quantity is required. Please note, if feed is not taken, it will quickly go mouldy so keep an eye on it. Mouldy feed should be removed as soon as possible.
Rate of feeding
The choices here are more tricky. Beekeeping books will tell you that feeding in preparation for winter is best done using a rapid feeder however, slower feeding from say, a contact feeder more closely replicates an autumnal nectar flow. Slower feeding will encourage the colony to raise brood whereas feed delivered rapidly will more likely be stored. It’s a question of what it is you’re trying to achieve.
The well-known beekeeper-writer Wally Shaw thinks the advice to feed fast to limit brood production is based on the use of more prolific strains (for example Italian bees) that need no excuse to over-produce brood. He says these prolific stains are probably not best adapted to our climatic conditions. We tend to have a type of bee (sometimes referred to as ‘thrifty bees’) that over-winter in smaller colonies.
Therefore, for less prolific stains, it may be better to encourage them to continue to raise brood for as long as possible in the autumn to provide a good head of winter bees. Therefore, slower feeding would be better. Wally also points out that there must still be a good supply of pollen around for the bees to raise brood and at the end of the day, the bees know their own business best!

Other reasons for feeding
• to rescue or help a colony short of stores in the late winter or spring.
• To help colonies through the June gap; probably unnecessary with well-adapted bees.
• To stimulate spring build-up ahead of a nectar flow when there’s been good weather early in the season.
• To help hived swarms produce brood combs quickly. Feeding should not commence until three days have elapsed since hiving to allow the bees to use-up stores they brought with them in their crops to prevent the possible storage of diseased honey.
• To ensure colonies raising queen cells are nourished.
• To feed nucleus colonies so there is no hinderance to their growth.
For all these purposes, slow feeding with a contact feeder or one of the smaller tray feeders or a frame feeder is the best way to achieve the required result. Feeding during the season should be avoided unless absolutely necessary in order to avoid adulteration of honey with sugar syrup.
Feed mixes
Autumnal feeding to enhance winter stores should be done with a strong syrup comprising 1kg of sugar dissolved in 625ml of water. This is the equivalent of 2lbs of sugar in one pint of water. Autumn feeding should be completed by the end of September to allow the bees time to convert it to honey before the weather turns cold. Non-ripened feed may ferment and lead to dysentery.
Spring rescue feeding should be done with an intermediate strength syrup of 1kg of sugar to one litre of water; easy to remember and easy to do. This strength of syrup is also suitable for comb drawing, emergency feeding during the season or June gap, making queen cells and nucleus feeding.
Stimulative feeding to prepare colonies for an early nectar flow (good weather in early spring), light syrup; 1kg of sugar to 1.25 litres of water. Equivalent of 1lb to one pint.
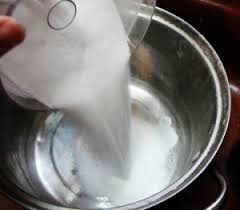
Syrup should be prepared by pouring near boiling water over the sugar and stirring well until it’s all dissolved. The liquid should be completely clear and a light straw colour.
If you make your syrup in a pan, don’t allow the mixture to boil as this will produce a compound called HMF (Hydroxymethylfurfural) which is toxic to bees.
Ensure the sugar is fully dissolved as sugar crystals will block the feeder holes or gauze. Hence the old beekeeper complaint ‘ I’ve put feed on but the bees don’t seem to want it’. Contact feeders that have been on the hive for a significant time after their contents have been exhausted should be checked for propolis blockage of the gauze or holes. The propolis can be removed by washing the lid in a strong, hot solution of soda crystals using an old (or somebody else’s) toothbrush as necessary.

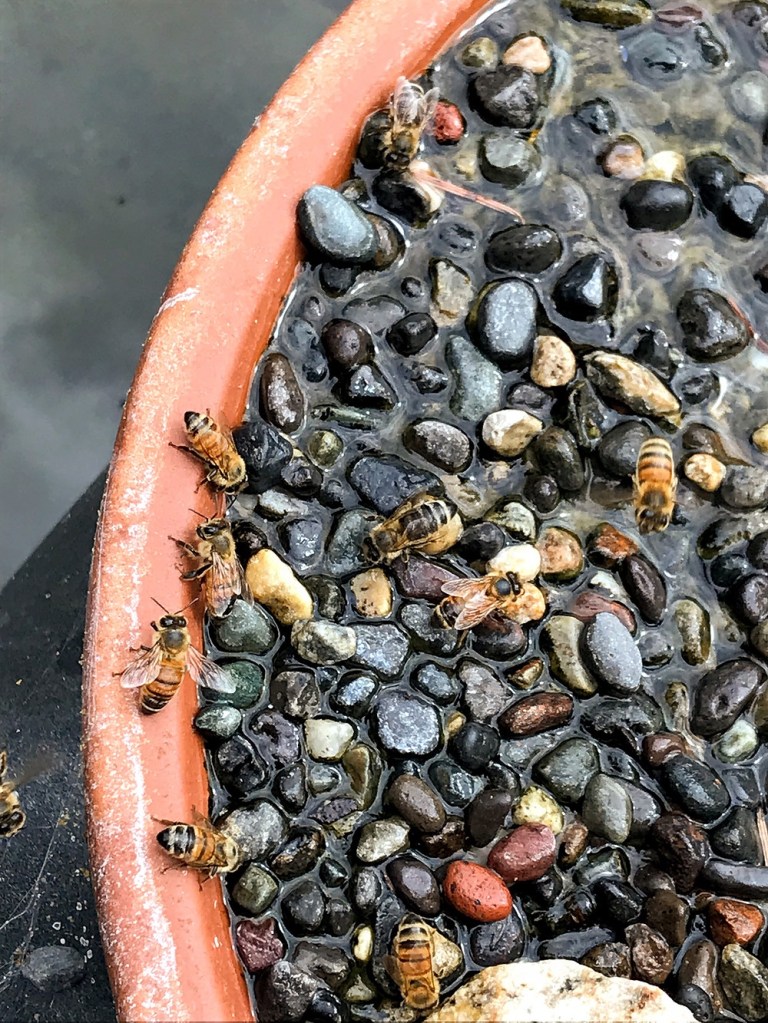
Beebase resources: Feeding sugar and don’t forget water all year round. If you don’t live near a natural water source, fill a shallow dish or bowl with water and arrange pebbles and stones inside so that they can safely drink but site it away from the hive, otherwise bees can’t describe it in a dance. Alternatively, you can buy water feeders. Providing water
This page is based on an article by Wally Shaw first published in the Welsh Beekeeper.
